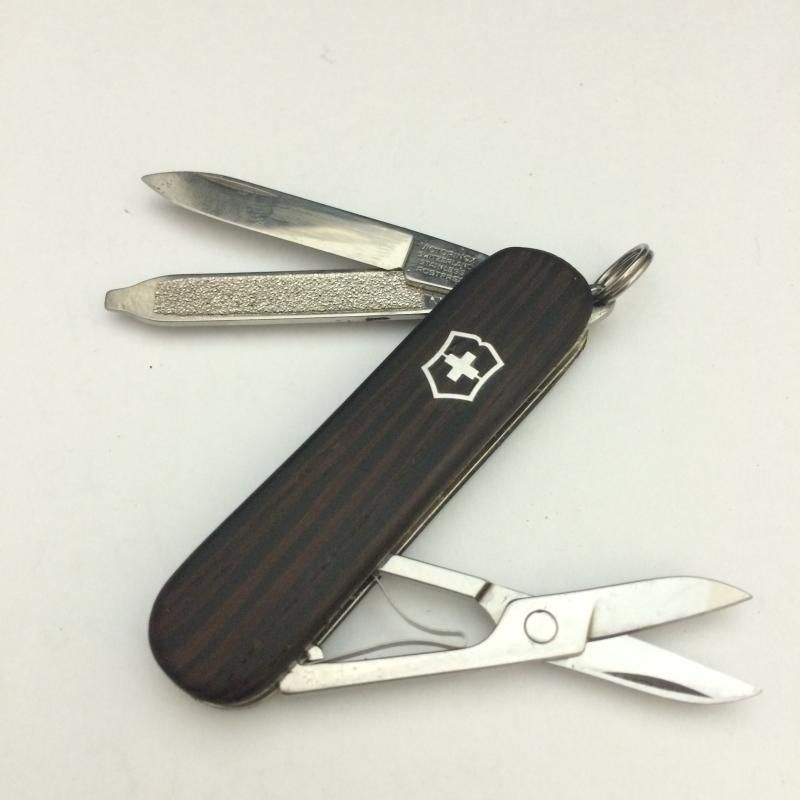
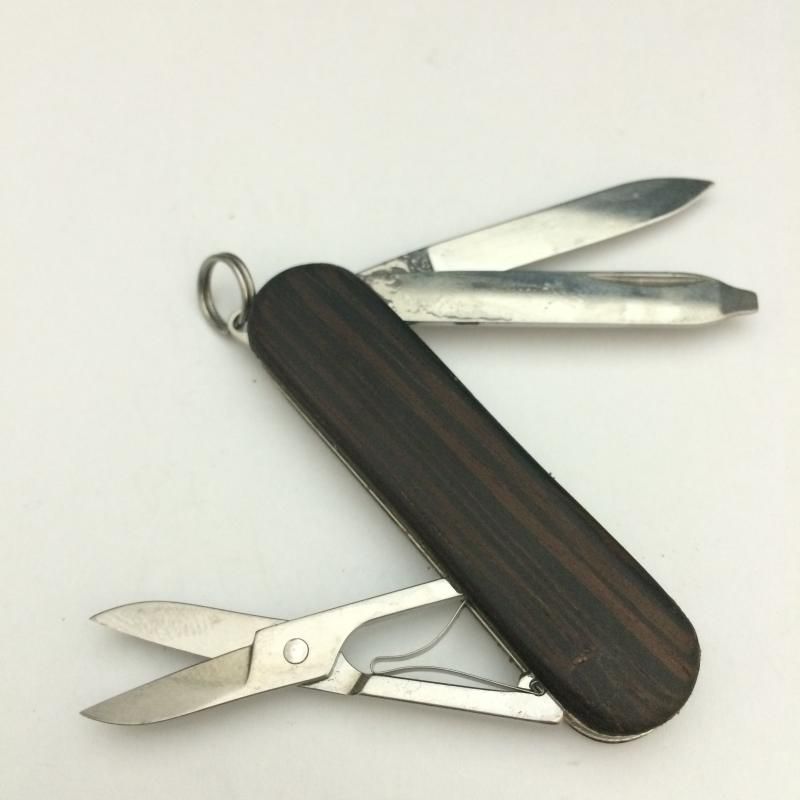
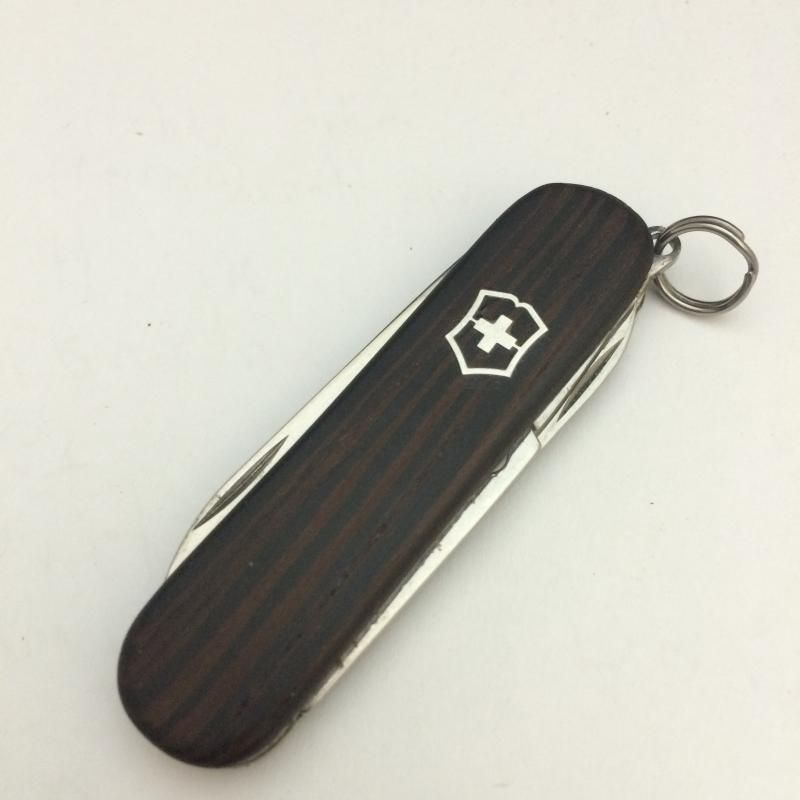
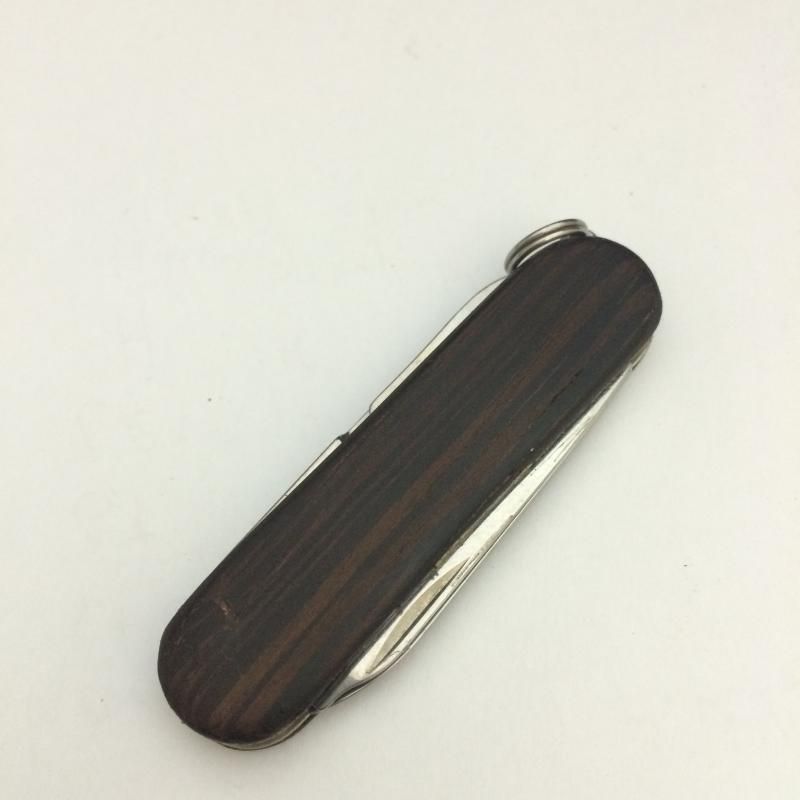
The 84mm version of the 91mm Master Craftsman has the largest tool set of the 84mm range.
This SAK has the indications of a knife produced in the 1970s: "+PAT" can opener, non-locking bottle opener, old-style scissors, clip-point small blade, aluminum tipped tweezers, brass shields, "Victoria" and Hoffritz tang stamp, square shank philips screwdriver back tool with nail file.
This is the early version of the 91mm Master Craftsman from a 1970s Victorinox Catalog has the same tool set as the 84mm version.
This is one of the smallest SAK with a wood saw. It has been part of the Victorinox line-up since the 1970's but instead of the combo tool, there was a small blade included with the part number 1240ku. During the 1980's, Victorinox replaced the small blade with a combo tool found in the other 84mm knives and named it as a Lumberjack. Other catalogs also identifies it as the Plumber.
This is the 1240ku knife - the older brother of the 84mm Lumberjack
This is from SMICO catalog (1980s) in Canada, identifies the Lumberjack as the Plumber with part number 2.0511
References:
Victorinox Catalog 1970s
Victorinox Catalog 1980s (SMICO dealer)
This is the updated version of the Soldier's Knife. This is a next major change in the design which uses 111mm instead of 93mm. The scale also changed from Alox to embossed grip-rubber type. The design was based on the OH-GAK (One-Hand GAK) which was developed for the German Army.
This "09" model completes the birth years of my children :)
Reference:
www.sakwiki.com
The Union Jack stays!
The United Kingdom of Great Britain, Scotland, Wales and Northern Ireland uses as its national flag the royal banner known as the Union Jack or Union Flag. The current design of the flag dates from the union of Ireland and Great Britain in 1801. It consists of the red cross of Saint George (patron saint of England), edged in white, superimposed on the Cross of St Patrick (patron saint of Ireland), which are superimposed on the Saltire of Saint Andrew (patron saint of Scotland).
It is interesting what will happen to the Union Jack when the voting of Scottish independence happen this week.
Reference:
www.wikipedia.com
The Victorinox Classic and Spartan both in Tasmanian Oak scale.
First time to do a 58mm scale. Usually the guides found in the web are for the 91mm models. But most of the techniques can be applied to the smaller version.
First off, I disassembled an old 58mm classic with a badly damaged blade. I need the liners to act as a drilling guide and a shaping guide later on.
Make sure the wood is already close to the final thickness and size you want it to be, just make it a tad thicker (~0.2-0.3mm thicker) and bigger so that you have some material left for final shaping and sanding later on.
After having the rough shape, use one of the liners to make pilot drill (I used 1.5mm drill bit) on one of the four holes first. Please set up your drill press to the proper depth so as not to drill through the thin wood. I drilled just enough for the old pin to be inserted. I inserted an old pin into the liner+wood to keep the wood aligned to the liner on one hole. I then proceeded to drill another hole on the opposite corner (same depth) and pushed another pin there as well. I then drilled the two other holes. This technique ensures that the holes are perfectly aligned with respect to the liner. NOTE: If you have a clamping mechanism that clamps the wood and liner together during drilling, you don't need to follow the steps above, just drill the four holes at once.
Next step is to increase the diameter of these holes, the diameter of the 58mm bushing is around ~3mm. I used on of my dremel carbide burrs that's close to that diameter to enlarge the holes to the proper size.
Using the other liner, I inserted the pins and bushing into the liner and use blu-tack to hold it in place. I lost the 4th pin so I only had three at this instance. I used this as a guide to sand the wood scale to the final shape required. Again, if you have a clamping mechanism that will enable you to keep them together during sanding, you don't need this.
The wood scale with the liner attached. I outlined the liner with red marker to easily see the edge :)
After several passes on the sanding drum I have the final shape and thickness. I used my previous technique of attaching the Victorinox metal shield to attach it to my wood scale.
It's simple, I put a very small amount of 2-part epoxy (colorless in this case), on the metal shield (make sure it's just enough so that there will be very minimal excess later). Carefully align the shield to the wood, using other 58mm cellidor scales as visual aid. Gently press it to tack it to the wood. I then sandwich the wood with the scale into two pieces of metal to ensure that it is flat and then I press it with my table vise for about 5-10 minutes. I found this method ensures that the shield is pressed firmly into the wood and minimizes the "embossed"-effect.
I attached the wood scales to the liner using contact cement glue (shoe glue/rubber cement/rugby glue). This has a reasonable amount of strength while still enabling me to remove it without damaging either the scale or the liner. I clamped it (using some cloth to protect the wood scale from damage) on my vise and have it set overnight.
Ready for you!